Install Redmine 3 on Ubuntu Server 16.04
This article is Part 1 in a 7 Part Series.
- Part 1 - This Article
- Part 2 - Secure Redmine 3 on Ubuntu Server 16.04 with Let's Encrypt
- Part 3 - Integrate Redmine 3 with Mercurial SCM on Ubuntu Server 16.04
- Part 4 - Integrate Redmine 3 with Git SCM on Ubuntu Server 16.04
- Part 5 - Integrate Mercurial with SSH on Ubuntu Server 16.04
- Part 6 - Integrate Git with SSH on Ubuntu Server 16.04
- Part 7 - Install Sendmail with STARTTLS on Ubuntu Server 16.04
NB: To install Redmine on more recent versions of Ubuntu (20.04 and later), kindly refer to an updated version of this tutorial here.
This is a tutorial on how to install the latest version of Redmine (version 3.4.4) at the time of writing on Ubuntu Server 16.04, with Apache 2 and Phusion Passenger as the web server and application server respectively, and MariaDB as the relational database. Later on, I will secure the Redmine installation with TLS for Apache and integrate Redmine with both Git and Mercurial, two popular open source version control systems (VCS’s).
Redmine can also be integrated with an LDAP server, and be used in an enterprise-like environment, with centralized user access controls.
Background
Redmine is a flexible and powerful project management system built with Ruby on Rails. It has the benefit of being open-source, thus it’s highly customizable and has support for all the popular version control systems (and thus a necessity for software projects). As a software engineer, I have integrated Redmine with both Git and Mercurial (arguably the most popular VCS’s), and will demonstrate how to do so later in this tutorial series. Redmine also supports enterprise features like LDAP authentication and can therefore be used as as an alternative to commercial solutions such as Github Enterprise or Bitbucket Server.
Step 1: Install Redmine pre-requisites
NB: Unless specified, run all the following commands on the bash prompt of your VPS/Dedicated Server.
Set the timezone on your server
sudo dpkg-reconfigure tzdata
Substitute the values in square brackets with your own respective values:
Geographic Area: [Your Geographic Area e.g. Africa]

Time zone: [Your City e.g. Nairobi]
Add the MariaDB GPG keys and Ubuntu repository
sudo apt-get install software-properties-common

sudo apt-key adv --recv-keys --keyserver hkp://keyserver.ubuntu.com:80 0xF1656F24C74CD1D8

sudo add-apt-repository 'deb [arch=amd64,i386] http://mirror.zol.co.zw/mariadb/repo/10.2/ubuntu xenial main'
Add the Passenger GPG keys and repository
sudo apt-key adv --keyserver hkp://keyserver.ubuntu.com:80 --recv-keys 561F9B9CAC40B2F7

sudo sh -c 'echo deb https://oss-binaries.phusionpassenger.com/apt/passenger xenial main > /etc/apt/sources.list.d/passenger.list'
Fetch the latest changes from the online repository
sudo apt-get update
Install essential packages
sudo apt-get install apache2 mariadb-server libapache2-mod-passenger apt-transport-https ca-certificates libmariadbclient-dev language-pack-en-base python-software-properties openssl libssl-dev build-essential curl g++ libcurl4-openssl-dev apache2-dev libapr1-dev libaprutil1-dev libmagickcore-dev libmagickwand-dev bison zlib1g-dev libxml2-dev autotools-dev libxslt1-dev libyaml-0-2 autoconf automake libreadline6-dev libyaml-dev libtool imagemagick apache2-utils ssh zip libicu-dev libssh2-1 libssh2-1-dev cmake libgpg-error-dev dirmngr gnupg
This will take some time depending on the speed of your internet connection.
On installation, you will be prompted to add a root password for MariaDB. Make sure you select a strong password for the root MariaDB user.
Enable the passenger apache module
sudo a2enmod passenger
Secure the MariaDB server
mysql_secure_installation
Then answer the prompts as follows:
Change the root password? [Y/n] n --> No need to change this if you already have chosen a good password

Remove anonymous users? [Y/n] y

Disallow root login remotely? [Y/n] y

Remove test database and access to it? [Y/n] y

Reload privilege tables now? [Y/n] y
Step 2: Create the MariaDB Redmine user
Login to the MariaDB console:
mysql -u root -p
Once logged in, run the following SQL commands on the MariaDB console:
NB: Modify the values in square brackets with your preferred values. Please keep track of them as they will be essential later on in the installation process.
MariaDB [(none)]> create database [redmine_database];
MariaDB [(none)]> create user '[redmine_user]'@'localhost' identified by '[redmine_password]';
MariaDB [(none)]> grant all privileges on [redmine_database].* to '[redmine_user]'@'localhost' identified by '[redmine_password]';
Quit the MariaDB console:
MariaDB [(none)]> \q
Step 3: Install Ruby
We will be using the brightbox ruby PPA for the install, as I find it a faster way to install the latest version of ruby on Ubuntu in comparison to either rvm or rbenv.
I will install ruby version 2.5, the latest at the time of writing.
Add the Brightbox ruby PPA
sudo add-apt-repository ppa:brightbox/ruby-ng
Fetch the latest changes
sudo apt-get update
Install Ruby version 2.5
sudo apt-get install ruby2.5 ruby2.5-dev ruby-switch
Set Ruby version 2.5 to be the default ruby executable
sudo ruby-switch --set ruby2.5
Check if the installation was successful
ruby --version
You should get:
ruby 2.5.0p0 (2017-12-25 revision 61468) [x86_64-linux-gnu]
Step 4: Install Redmine
First, we will download the Redmine source code to the /tmp directory, then install it in the /usr/share/redmine directory. I will install Redmine version 3.4.4, the latest at the time of writing.
Go to the /tmp directory
cd /tmp
Download the Redmine source code:
curl -O https://www.redmine.org/releases/redmine-3.4.4.tar.gz
Extract it:
tar -xvvf redmine-3.4.4.tar.gz
Move the extracted code to /usr/share/redmine directory
sudo mv -v redmine-3.4.4 /usr/share/redmine
Switch to the /usr/share/redmine directory:
cd /usr/share/redmine/
Install bundler (a ruby dependency manager):
sudo gem install bundler -v 1.15.4
Create a database config file from the provided template:
cp -v config/database.yml.example config/database.yml
I will be using vim as my preferred command line text editor. You can use any alternative command line text editor, such as nano or emacs.
vi config/database.yml
Set the production YAML block as follows:
production:
  adapter: mysql2
  database: [redmine_database]
  host: localhost
  username: [redmine_user]
  password: "[redmine_password]"
  encoding: utf8
Save an close vim by entering :wq! on your terminal.
Install Redmine dependencies
Install the Redmine ruby gems:
bundle install --without development test postgresql sqlite
Create a secret token to secure the HTML forms in Redmine against CSRF attacks:
bundle exec rake generate_secret_token
Create the Redmine database tables:
bundle exec rake db:migrate RAILS_ENV=production
Seed the database with default data, and set the language to be used to English (you can change this if English isn’t your preferred language).
bundle exec rake redmine:load_default_data RAILS_ENV=production REDMINE_LANG=en
Step 5: Integrate Redmine with Apache 2
As a security precaution, rename (or delete) the default Apache 2 index file before continuing:
sudo mv -v /var/www/html/index.html /var/www/html/index.html.bak
Remove the Apache 2 server signatures (that are usually listed on the default apache error pages). Edit the main Apache configuration file:
sudo vi /etc/apache2/apache2.conf
Add the following to the bottom of the file:
ServerTokens Prod
ServerSignature Off
Save the file and close vim then restart Apache:
sudo systemctl restart apache2
Create a Redmine Apache Virtual Host file (vhost):
sudo vi /etc/apache2/sites-available/redmine.conf
Add the following content to the vhost:
NB: Substitute the values in square brackets with your own specific domain e.g. example.com
<VirtualHost *:80>
    ServerName www.[your domain]
    ServerAlias [your domain]
    ServerAdmin webmaster@localhost
    DocumentRoot /var/www/html
    RailsEnv  production

    Alias /redmine /usr/share/redmine/public
    <Location /redmine>
      PassengerBaseURI /redmine
      PassengerAppRoot /usr/share/redmine
    </Location>

    <Directory /usr/share/redmine/public>
      Allow from all
      Options -MultiViews
      Require all granted
    </Directory>

    <Directory /var/www/html>
        Allow from all
        Options -Indexes -MultiViews
        Require all granted
    </Directory>

    ErrorLog ${APACHE_LOG_DIR}/error.log

    # Possible values include: debug, info, notice, warn, error, crit, alert, emerg.
    LogLevel warn

    CustomLog ${APACHE_LOG_DIR}/access.log combined
 </VirtualHost>
Check if your configuration file’s syntax is sound:
sudo apachectl configtest
If all is well, you should see:
Syntax OK
Check the passenger module’s configuration:
passenger-config validate-install
Select Passenger itself and Apache, then hit enter
What would you like to validate?
Use <space> to select.
If the menu doesn't display correctly, press '!'

   ⬢  Passenger itself
 ‣ ⬢  Apache

-------------------------------------------------------------------------

Checking whether there are multiple Apache installations...
Only a single installation detected. This is good.

-------------------------------------------------------------------------

 * Checking whether this Passenger install is in PATH... ✓
 * Checking whether there are no other Passenger installations... ✓
 * Checking whether Apache is installed... ✓
 * Checking whether the Passenger module is correctly configured in Apache... ✓

Everything looks good. :-)
Check the Passenger module’s memory statistics:
sudo passenger-memory-stats
On an Ubuntu 16.04 1 GB VPS you should get:
Version: 5.2.0
Date   : 2018-02-13 19:37:17 +0300

------- Apache processes --------

### Processes: 0
### Total private dirty RSS: 0.00 MB


-------- Nginx processes --------

### Processes: 0
### Total private dirty RSS: 0.00 MB


---- Passenger processes ----
PID  VMSize    Private  Name
-----------------------------
691  378.5 MB  1.8 MB   Passenger watchdog
695  662.2 MB  3.2 MB   Passenger core
### Processes: 2
### Total private dirty RSS: 5.01 MB
Disable the default Apache vhost:
sudo a2dissite 000-default
Enable the newly created Redmine vhost:
sudo a2ensite redmine
Reload Apache:
sudo systemctl reload apache2
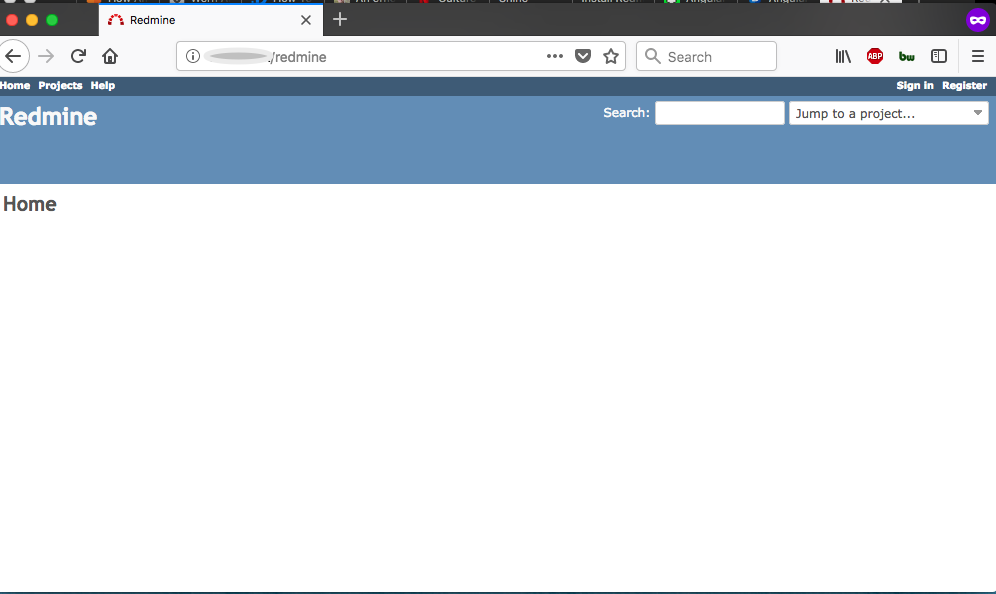
On a web browser go to [your domain]/redmine.
Click on the ‘Sign in’ link on the top-right.
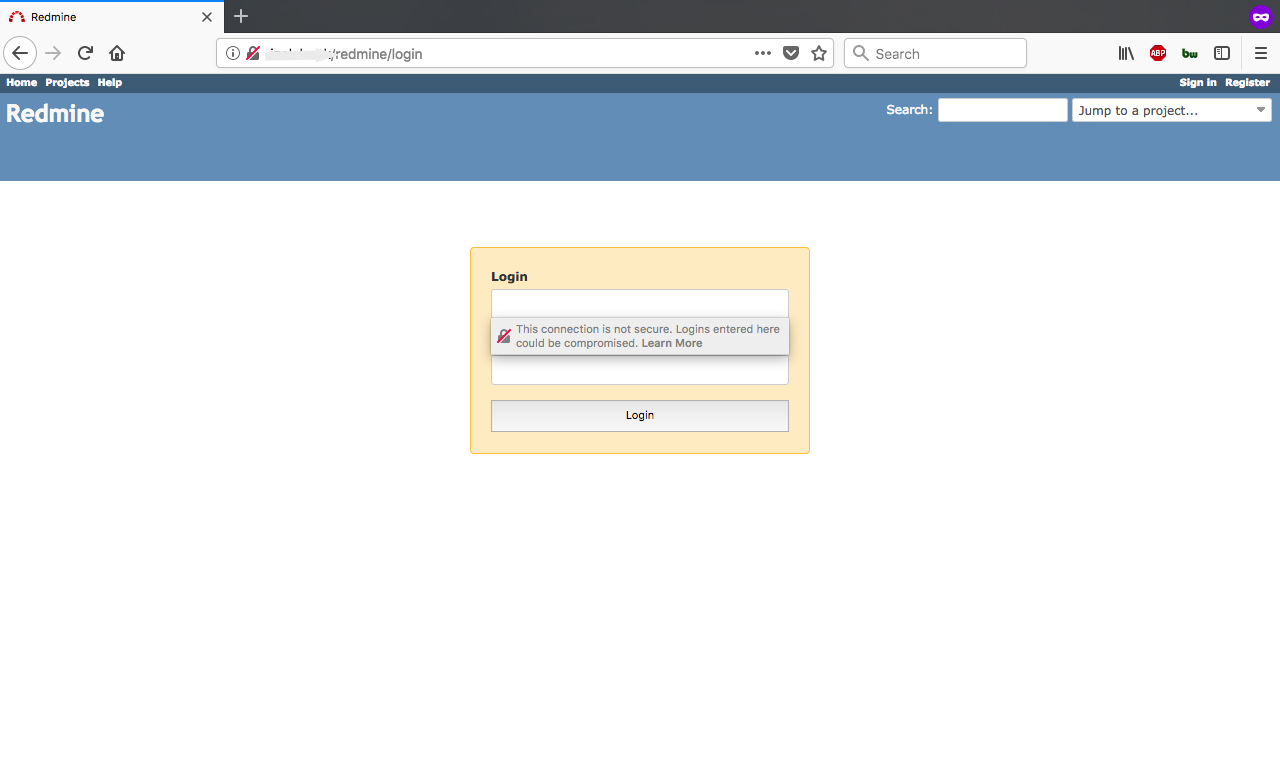
Use the credentials admin/admin to login.
You will thereafter be prompted to enter a new password. Please enter a more secure/strong password for the admin user.
Unfortunately at this stage, the Redmine installation is insecure as credentials will be sent in the clear. We will fix this in the next tutorial.