Integrate Redmine 3 with Git SCM on Ubuntu Server 16.04
This article is Part 4 in a 7 Part Series.
- Part 1 - Install Redmine 3 on Ubuntu Server 16.04
- Part 2 - Secure Redmine 3 on Ubuntu Server 16.04 with Let's Encrypt
- Part 3 - Integrate Redmine 3 with Mercurial SCM on Ubuntu Server 16.04
- Part 4 - This Article
- Part 5 - Integrate Mercurial with SSH on Ubuntu Server 16.04
- Part 6 - Integrate Git with SSH on Ubuntu Server 16.04
- Part 7 - Install Sendmail with STARTTLS on Ubuntu Server 16.04
In this tutorial, we will integrate Redmine 3 with Git SCM, a distributed version control tool.
Apache Integration
Install Git from the PPA
sudo add-apt-repository ppa:git-core/ppa
sudo apt-get update
sudo apt-get install git gitweb libdbd-mysql-perl libapache2-mod-perl2 libapache-dbi-perl
In case you only want your Redmine installation to support git, ensure the last three packages are installed prior to moving on.
The last three packages are required for authenticating a Git web client against the Redmine database via a custom Perl script shipped with the Redmine installation.
Enable the Apache CGI module
Also, ensure that the CGI apache module is enabled:
sudo a2enmod cgid
Then, restart Apache:
sudo systemctl restart apache2
Create the Git repository directory
sudo mkdir -p /var/git/repos
Create the Gitweb system config file
sudo vi /etc/gitweb.conf
Add the following content:
# path to git projects (<project>.git)
$projectroot = "/var/git/repos";

# directory to use for temp files
$git_temp = "/tmp";

# target of the home link on top of all pages
#$home_link = $my_uri || "/";

# html text to include at home page
$home_text = "indextext.html";

# file with project list; by default, simply scan the projectroot dir.
$projects_list = $projectroot;

# stylesheet to use
@stylesheets = ("static/gitweb.css");

# javascript code for gitweb
$javascript = "static/gitweb.js";

# logo to use
$logo = "static/git-logo.png";

# the 'favicon'
$favicon = "static/git-favicon.png";

# git-diff-tree(1) options to use for generated patches
#@diff_opts = ("-M");
@diff_opts = ();
Save and close the file.
Create the Gitweb apache config file
sudo vi /etc/apache2/conf-available/gitweb.conf
Add the following content:
Alias /gitweb /usr/share/gitweb

<Directory "/usr/share/gitweb">
  Options +FollowSymLinks +ExecCGI
  AddHandler cgi-script .cgi
  DirectoryIndex gitweb.cgi
</Directory>

<Location /gitweb>
  SSLRequireSSL
  AuthType Basic
  AuthName "Gitweb Login"
  Require valid-user
  AuthUserFile /home/[your ubuntu account]/.htpasswd
</Location>
Create a password for Gitweb:
sudo htpasswd -c /home/[your ubuntu account]/.htpasswd [gitweb_user]
For example:
sudo htpasswd -c /home/testuser/.htpasswd gitweb_testuser
Give apache ownership of the new file:
sudo chown www-data:www-data .htpasswd
Make the file executable:
sudo chmod gu+x .htpasswd
Create a Git post-receive hook file
Enable git templates:
git config --global init.templatedir '~/.git-templates'
This tells git to copy everything in ~/.git-templates to your per-project .git/ directory when you run git init.
Confirm that the configuration has been added correctly:
git config -l
You should see:
init.templatedir=~/.git-templates
Create a directory to hold the global hooks:
mkdir -p ~/.git-templates/hooks
Create a post-receive hook:
vi ~/.git-templates/hooks/post-receive
Add the following content:
#!/usr/bin/env ruby
require 'net/http'
require 'uri'

uri = URI.parse("https://[your_domain]/redmine/sys/fetch_changesets?key=[redmine_api_key]")
response = Net::HTTP.get_response(uri)

# response.code
# response.body
Make sure the hook is executable:
chmod a+x ~/.git-templates/hooks/post-receive
You can get your API key by logging in as an administrative user, then clicking the Administration Link at the top, then clicking on Settings. Under Settings, navigate to the Repositories tab on the far right and Enable WS for repository management. Then below it click the ‘Generate a key’ link.
NB: Don’t forget to save your changes at the bottom.
A post-receive hook is code that is triggered automatically when a user pushes a commit to the server. In this case, it will refresh the Redmine timeline to reflect the newly committed code.
Set the correct permissions for the newly created files
sudo chown -R www-data:www-data /var/git
Create an Apache config file
sudo vi /etc/apache2/conf-available/git.conf
Add the following content:
PerlLoadModule Apache::Redmine
ScriptAliasMatch \
          "(?x)^/git/(.*/(HEAD | \
                        info/refs | \
                        objects/(info/[^/]+ | \
                                 [0-9a-f]{2}/[0-9a-f]{38} | \
                                 pack/pack-[0-9a-f]{40}\.(pack|idx)) | \
                        git-(upload|receive)-pack))$" \
                       /usr/lib/git-core/git-http-backend/$1

        SetEnv GIT_PROJECT_ROOT /var/git/repos
        SetEnv GIT_HTTP_EXPORT_ALL

 ErrorLog /var/log/apache2/git-error.log
 CustomLog /var/log/apache2/git-access.log combined
    <Location /git/>
      SSLRequireSSL
      AuthType Basic
      AuthName "Redmine git repositories"
      Order deny,allow
      Deny from all
 <Limit GET PROPFIND OPTIONS REPORT>
  Options Indexes FollowSymLinks MultiViews
        Allow from 127.0.0.1
 </Limit>
      Require valid-user
      Satisfy any
      ## for mysql
      PerlAccessHandler Apache::Authn::Redmine::access_handler
      PerlAuthenHandler Apache::Authn::Redmine::authen_handler
      RedmineDSN "DBI:mysql:database=redmine;host=localhost"
      RedmineDbUser "[redmine_user]"
      RedmineDbPass "[redmine_password]"
      RedmineGitSmartHttp yes
    </Location>
Subsitute the values in brackets with the Redmine MariaDB credentials created in the previous tutorials.
Check that the configuration file have the correct syntax:
sudo apachectl configtest
You should see:
Syntax OK
Add a symbolic link to Redmine.pm and Apache 2
sudo ln -s /usr/share/redmine/extra/svn/Redmine.pm /usr/share/perl5/Apache/Redmine.pm
sudo ln -s /usr/share/redmine/extra/svn/Redmine.pm /usr/share/perl5/Apache2/Redmine.pm
Enable the Git and Gitweb Apache 2 configurations and reload Apache 2
sudo a2enconf git
sudo a2enconf gitweb
sudo systemctl reload apache2
Create a new test repository and project in Redmine
Create a test repo:
sudo git init --bare /var/git/repos/test_git
sudo chown -R www-data:www-data /var/git/repos/test_git
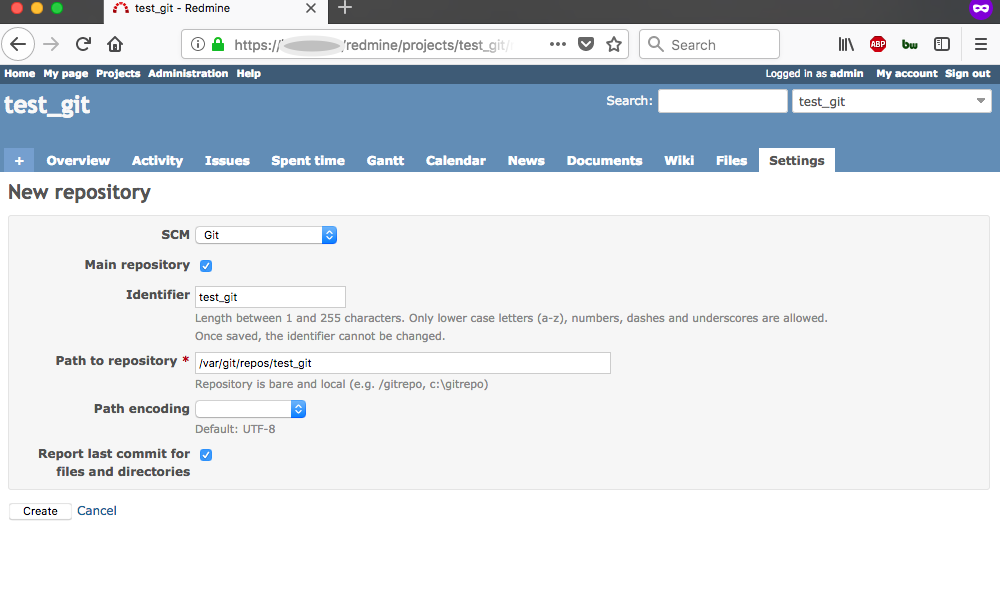
Create a new project with and identifier ‘test_git’
In the project Settings > Repository set:
SCM: Git
Path to Repository: /var/git/repos/test_git
Press the ‘Create’ button
Go to to the Repository tab of the test project
View the test repository in the web browser
https://[your domain]/gitweb
Here is the screen once you login:
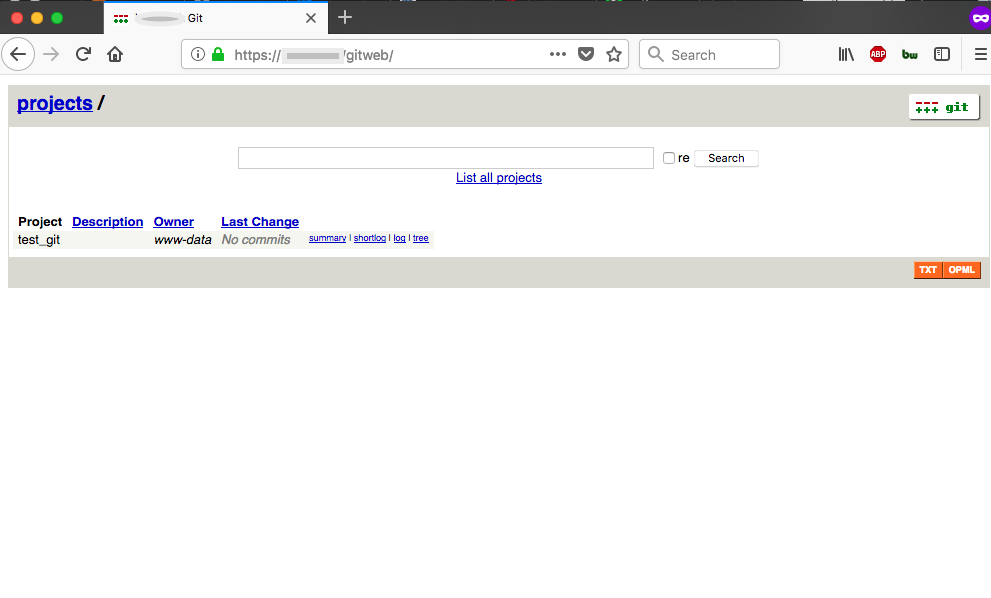
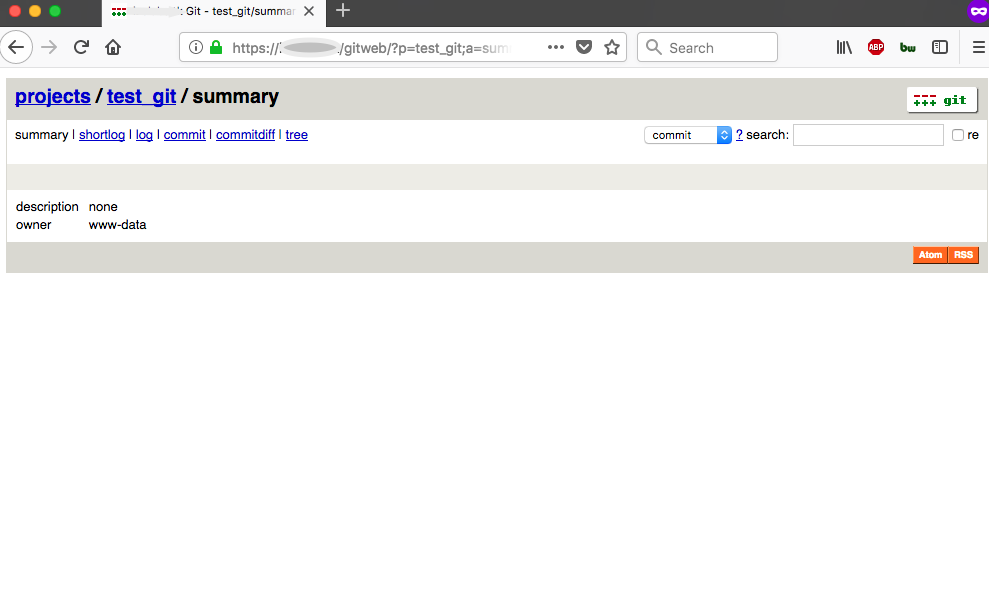
Here’s the Gitweb repository view (nothing committed yet):
You can also clone your newly created repo on your local machine:
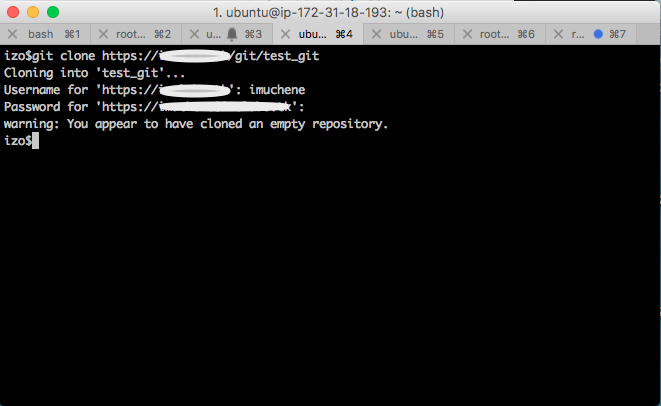
As the administrator, I created a test user called ‘imuchene’ and added him as a Developer in the test project. You can perform on the repo all other Git operations: commit, push, pull, branch, etc.
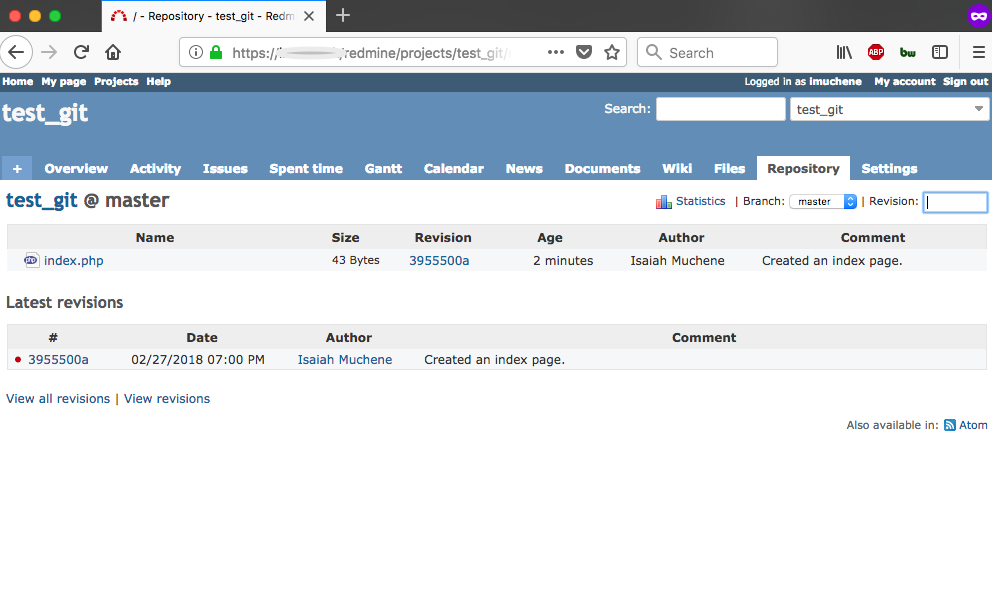
Here’s the repository view on Redmine for the same repo after I have pushed a single commit:
Here’s the activity view:
