Secure Redmine 3 on Ubuntu Server 16.04 with Let's Encrypt
This article is Part 2 in a 7 Part Series.
- Part 1 - Install Redmine 3 on Ubuntu Server 16.04
- Part 2 - This Article
- Part 3 - Integrate Redmine 3 with Mercurial SCM on Ubuntu Server 16.04
- Part 4 - Integrate Redmine 3 with Git SCM on Ubuntu Server 16.04
- Part 5 - Integrate Mercurial with SSH on Ubuntu Server 16.04
- Part 6 - Integrate Git with SSH on Ubuntu Server 16.04
- Part 7 - Install Sendmail with STARTTLS on Ubuntu Server 16.04
This is a tutorial on how to secure the latest version of Redmine (3.4.4) at the time of writing on Ubuntu Server 16.04, running Apache 2 and Phusion Passenger using Let’s Encrypt.
Background
Let’s Encrypt is a free and automated certificate authority, created by the Electronic Frontier Foundation (EFF) to assist web developers and the technology community in securing their websites and creating a more secure Internet in general by providing an easy way to add free TLS certificates to their servers.
Step 1: Install the Let’s Encrypt Certbot Utility
NB: Unless specified, run all the following commands on the bash prompt of your VPS/Dedicated Server.
Add the Certbot PPA
Certbot is a suite of command line tools created by Let’s Encrypt. We will start by installing it from their Ubuntu repository.
sudo add-apt-repository ppa:certbot/certbot
Update the APT repository.
sudo apt-get update
Install the Let’s Encrypt Apache Utility:
sudo apt-get install python-certbot-apache
Run the Certbot tool for Apache
Substitute the values in square brackets with your own domain e.g. example.com and your email e.g. user@example.com
sudo certbot --apache -d [your domain],www.[your domain] --agree-tos -m [your email] -n --redirect --must-staple --rsa-key-size 4096 --hsts --uir --staple-ocsp
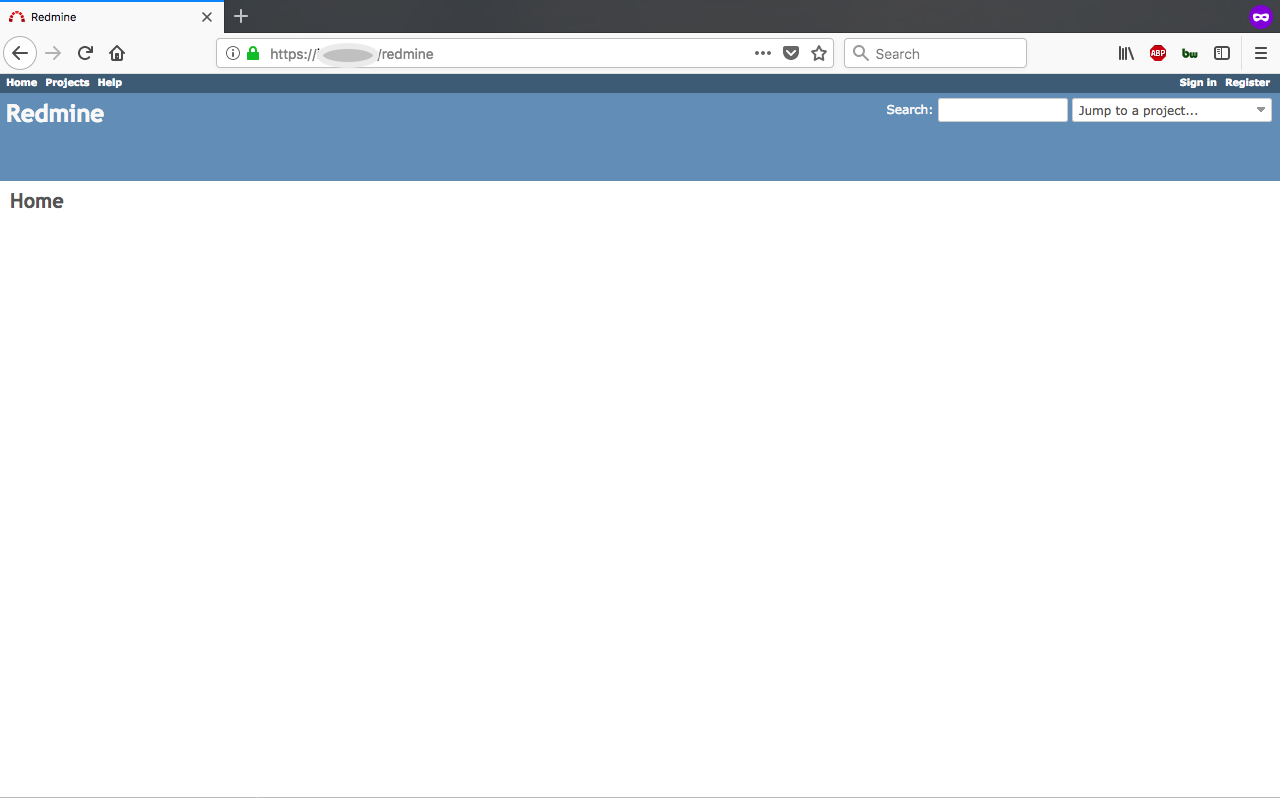
Your Redmine site should now be secured with TLS. Notice the green padlock symbol on the left of the URL.

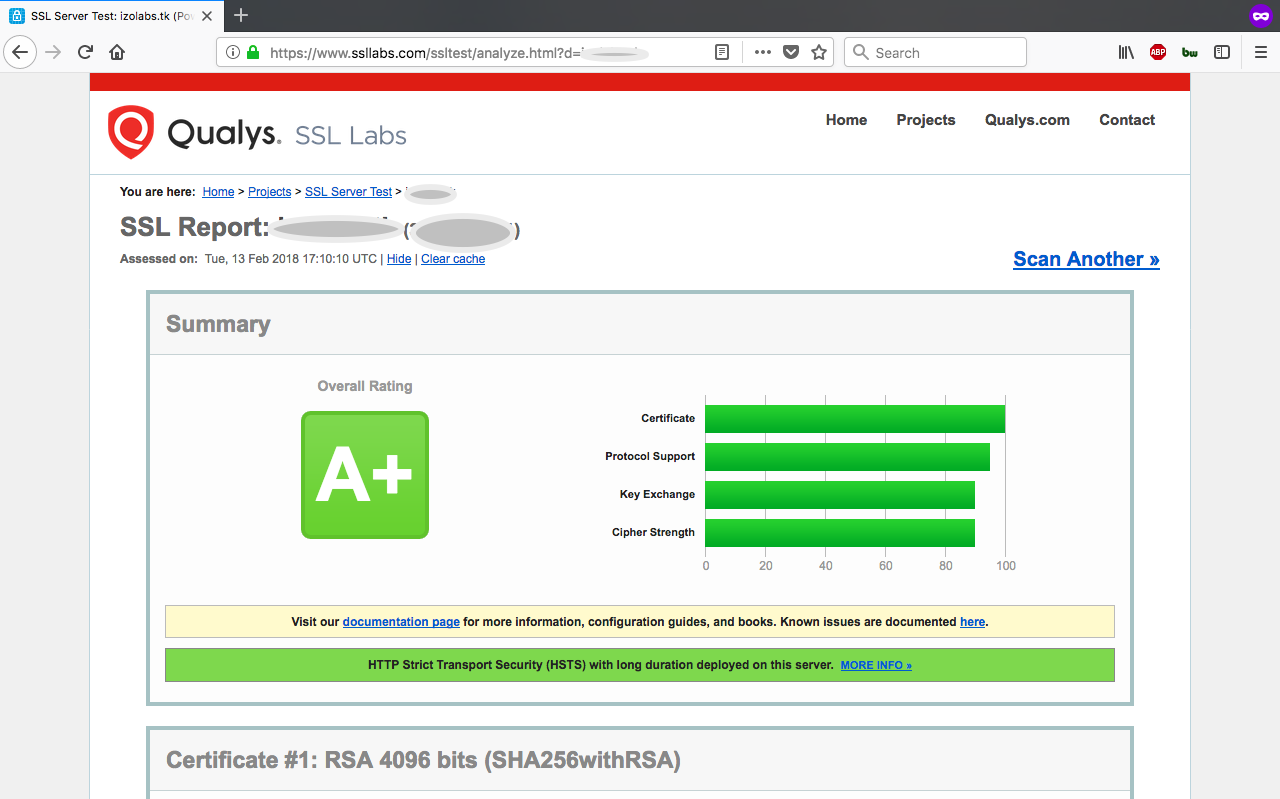
You should also have an A+ rating on the SSLLabs Test:
https://www.ssllabs.com/ssltest/analyze.html?d=[your domain]
https://www.ssllabs.com/ssltest/analyze.html?d=www.[your domain]

Here’s the responsive view on an iPhone:

Step 2: Auto-renew the installed Let’s Encrypt certificates
Create a new cronjob as a sudo user:
sudo crontab -e
Choose nano as the crontab editor:
no crontab for root - using an empty one

Select an editor.  To change later, run 'select-editor'.
  1. /bin/ed
  2. /bin/nano        <---- easiest
  3. /usr/bin/vim.basic
  4. /usr/bin/vim.tiny

Choose 1-4 [2]: 2
Add the following content to the crontab:
15 3 * * * certbot renew --quiet
Save the new cronjob by pressing control + o on your keyboard, then exit nano by pressing control + x. Your new cronjob for automatically renewing certificates should now be installed.