Integrate Git with SSH on Ubuntu Server 16.04
This article is Part 6 in a 7 Part Series.
- Part 1 - Install Redmine 3 on Ubuntu Server 16.04
- Part 2 - Secure Redmine 3 on Ubuntu Server 16.04 with Let's Encrypt
- Part 3 - Integrate Redmine 3 with Mercurial SCM on Ubuntu Server 16.04
- Part 4 - Integrate Redmine 3 with Git SCM on Ubuntu Server 16.04
- Part 5 - Integrate Mercurial with SSH on Ubuntu Server 16.04
- Part 6 - This Article
- Part 7 - Install Sendmail with STARTTLS on Ubuntu Server 16.04
Introduction
In this installment of the Redmine tutorial series, I will instruct users on how to add SSH authentication to their private git repos created earlier in the series.
This will allow users to perform git operations on their repositories without having to input their credentials each time (as is the default with HTTP(S)).
SSH makes use of both a public and private keypair which you must have already created on your local machine using the ssh-keygen command (covered in the previous tutorial).
On the Server
Create a bare git repo on the remote server (if you haven’t already)
cd /var/git/repos
sudo git init --bare <your_git_project>
Create a git user on the system and add him to the www-data group
sudo adduser git
sudo usermod -G www-data git
Give write permissions on the repository to the www-data group
sudo chmod -R g+w /var/git/repos/<your_git_project>
Create a symbolic link between the repo directory and the git home directory
sudo ln -s /var/git/repos/<your_git_project>/ /home/git/
On the local machine
Install ssh-copy-id on your local machine:
On a Mac:
brew install ssh-copy-id
On Ubuntu:
sudo apt-get install ssh-copy-id
Copy your public key to the remote server’s git account
ssh-copy-id git@<your_host>
Alternatively, if your remote host is on AWS, where password based logins are restricted, you can do the following:
cat ~/.ssh/id_rsa.pub | ssh -v <aws_user@aws_host> 'sudo mkdir /home/git/.ssh; sudo touch /home/git/.ssh/authorized_keys; sudo tee -a /home/git/.ssh/authorized_keys'
A summary of the what the above command does is:
- Prints your public key to standard output.
- Then pipes it to the SSH daemon.
- SSH will login to the remote AWS host as AWS user.
- While on the remote host, it will:
- Create a Git SSH directory.
- Create an authorized keys file.
- Append your public key to the authorized keys file.
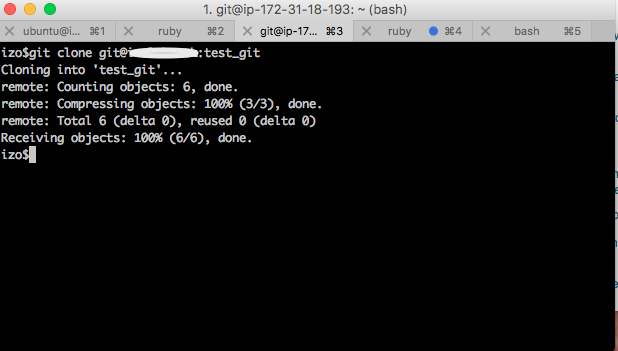
Clone the repo locally, make changes and push your changes
git clone git@<your_host>:<your_git_project>
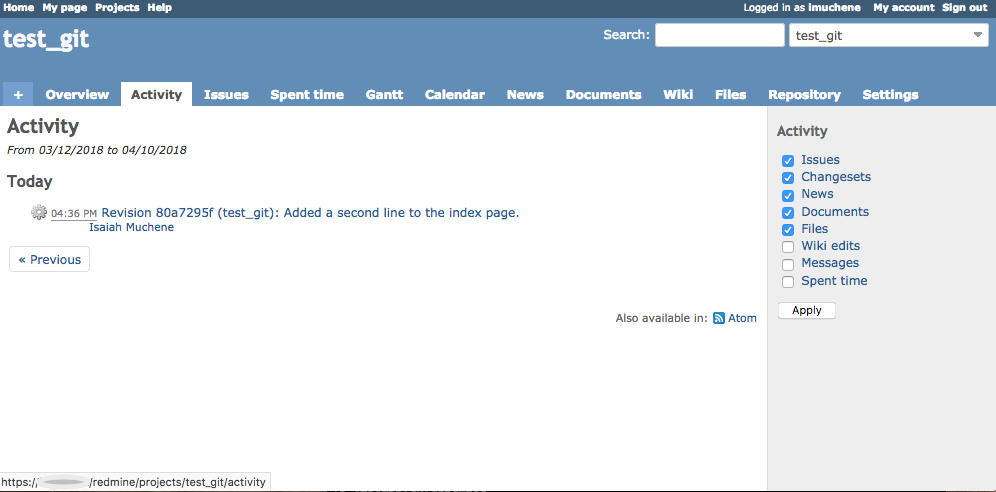
Here’s the Redmine Activity View after a successful git push via SSH: