Create a Stripe Module in Nest.js
This article is Part 8 in a 10 Part Series.
- Part 1 - Bootstrapping a Nest.js Project on Ubuntu
- Part 2 - Create Nest.js Migrations
- Part 3 - Create Nest.js CRUD Resources
- Part 4 - Create Nest.js Seeders
- Part 5 - Create a Customer Module in Nest.js
- Part 6 - Nest.js Authentication
- Part 7 - Create a Products Module in Nest.js
- Part 8 - This Article
- Part 9 - Create an Orders Module in Nest.js
- Part 10 - End to End Tests for our Storefront Backend
Next, we are moving on to adding a payment integration to our backend. In this case, we shall be using Stripe, which is a well known payments processor for C2B (Customer to Business) transactions. First you’ll have to create a stripe account. Once you do so, take note of the Secret key that will be shown to the right of the dashboard. In case of any issues, you can refer to my Github repository here.
Add payment_status field to orders
We’ll make a small change to our orders table by adding a payment_status field to indicate whether payment for an order is processing, sucessful or unsuccessful. All orders on being newly created will have a default payment status of Created.
Within the project root, run:
npm run migrations:create AddPaymentStatusToOrders
Here’s how the migration should look like:
import { MigrationInterface, QueryRunner, TableColumn } from 'typeorm';

export class AddPaymentStatusToOrders1652272019740
  implements MigrationInterface
{
  public async up(queryRunner: QueryRunner): Promise<void> {
    await queryRunner.addColumn(
      'orders',
      new TableColumn({
        name: 'payment_status',
        type: 'enum',
        enum: ['Created', 'Processing', 'Succeeded', 'Failed'],
        default: `'Created'`,
      }),
    );
  }

  public async down(queryRunner: QueryRunner): Promise<void> {
    await queryRunner.dropColumn('orders', 'payment_status');
  }
}
Enable klarna and alipay on the stripe dashboard
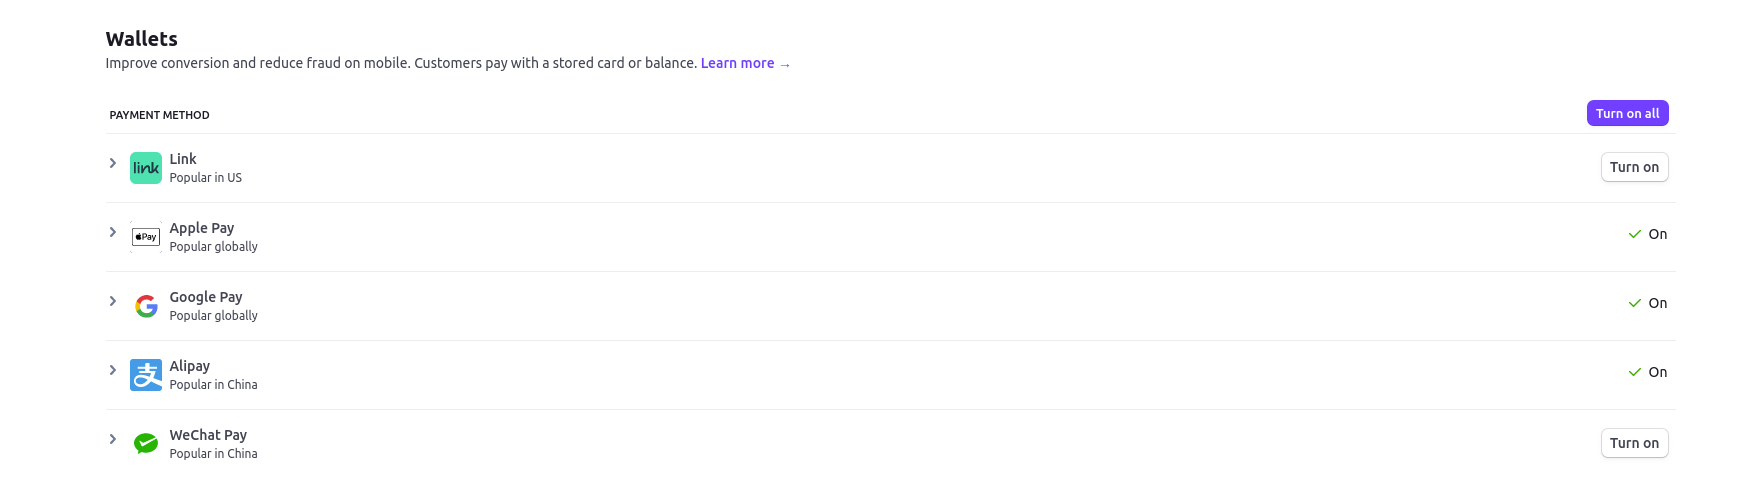
In addition to accepting credit/debit card transactions, which is enabled by default, we shall be also supporting the above two payment methods in our backend. In order to allow the above two, head over to Product settings on the stripe dashboard, then click the Payment methods link. Under Wallets make sure Alipay is turned on:
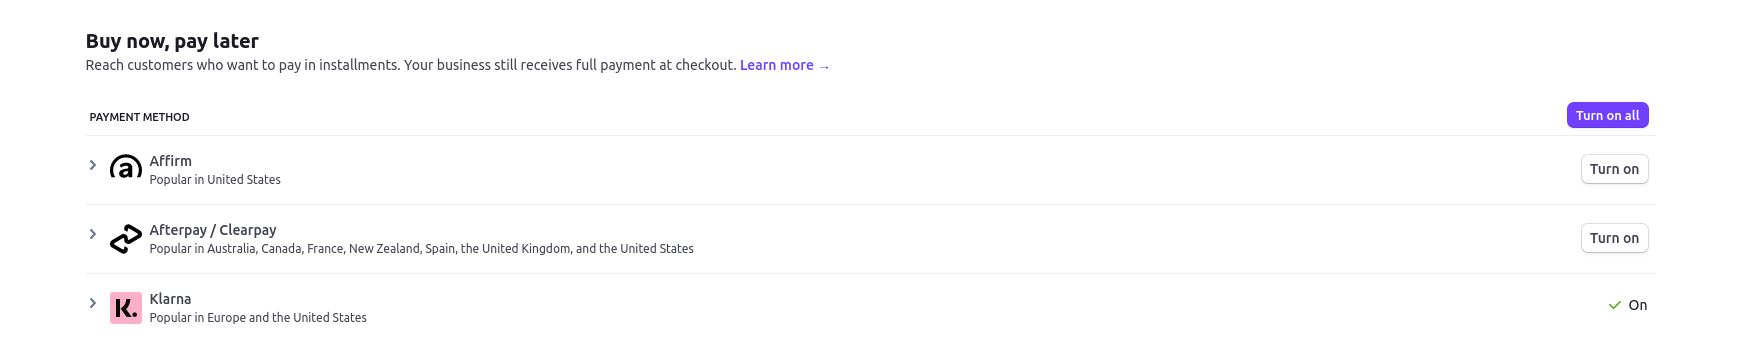
Under Buy now, pay later make sure Klarna is turned on:
Install the stripe npm module
Still under the project root, run:
npm i --save stripe
Add stripe credentials from the .env
Update your .env file with your stripe secret key, default currency and frontend URL. Later on, we shall build a frontend in Angular to utilise the stripe functionality:
# Stripe Credentials
STRIPE_SECRET_KEY=your_stripe_secret_key
STRIPE_CURRENCY=usd
FRONTEND_URL=http://localhost:4200
Generate a stripe nest.js module
nest g module modules/stripe
Generate a stripe nest.js service
nest g s modules/stripe
Install the stripe CLI (Command Line Interface) for Linux
The stripe CLI is very useful during development to test some functionalities such as webhooks, without the need of having our backend API deployed to the Internet. We shall be following the instructions contained here, with a few modifications to install the CLI. On this page there are corresponding instructions for MacOS and Windows.
cd /tmp/
curl https://packages.stripe.dev/api/security/keypair/stripe-cli-gpg/public | gpg --dearmor > stripe.gpg
sudo install -o root -g root -m 644 stripe.gpg /etc/apt/trusted.gpg.d/
echo "deb https://packages.stripe.dev/stripe-cli-debian-local stable main" | sudo tee -a /etc/apt/sources.list.d/stripe.list
sudo apt update
sudo apt install stripe
Move back to the previous directory
cd -
Login to stripe
Once the CLI is installed, a new console tab, run the following commands. The API key you should enter is the Secret Key mentioned above.
stripe login --interactive
Output:
Enter your API key:

Your API key is: sk_test_***********************************************************************************************WwYT

How would you like to identify this device in the Stripe Dashboard? [default: pop-os]

> Done! The Stripe CLI is configured for your account with account id acct_1JNFj6GIyORaO7x3
Forward events to the API webhook URL
A webhook is an HTTP request (usually containing JSON data) that is sent from one backend application to another when a certain event occurs on the sending application. The receiving application has to anticipate this request in advance and have a means of receiving the data from the request in the form af an HTTP endpoint. In our case, the sending application is stripe, while our backend is the receiving application. The event that triggers the webhook is when a new payment is received by stripe from our backend application. In the next tutorial, we shall cover the webhook in more details. For now, let us set our endpoint to the URL: localhost:3000/orders/stripe_webhook
stripe listen --forward-to localhost:3000/orders/stripe_webhook
The above command notifies stripe that instead of forwarding webhooks to a public URL, to instead send the same to our locally running application from where we can act on our data.
Output:
> Ready! You are using Stripe API Version [2020-08-27]. Your webhook signing secret is whsec_a7e5d8effe3f7d8439a6a1f9a74ed95c807c451e8e063dde64e295d96a50407a (^C to quit)
Stripe Module
Here’s how the stripe module file should look like:
import { Module } from '@nestjs/common';
import { StripeService } from './stripe.service';

@Module({
  providers: [StripeService],
  exports: [StripeService],
})
export class StripeModule {}
Stripe Service
Our main payment logic is contained within the service, and here’s the stripe service file:
import {
  Injectable,
  Logger,
  UnprocessableEntityException,
} from '@nestjs/common';
import { ConfigService } from '@nestjs/config';
import { Stripe } from 'stripe';
import * as util from 'util';

@Injectable()
export class StripeService {
  readonly stripe: Stripe;

  constructor(readonly configService: ConfigService) {
    this.stripe = new Stripe(configService.get<string>('STRIPE_SECRET_KEY'), {
      apiVersion: '2020-08-27',
    });
  }

  async createPaymentIntent(
    orderId: string,
    totalAmount: number,
  ): Promise<Stripe.PaymentIntent> {
    if (!orderId || totalAmount < 1) {
      throw new UnprocessableEntityException(
        'The payment intent could not be created',
      );
    }

    try {
      const paymentIntentParams: Stripe.PaymentIntentCreateParams = {
        // Total amount to be sent is converted to cents to be used by the Stripe API
        amount: Number(totalAmount) * 100,
        currency: this.configService.get<string>('STRIPE_CURRENCY'),
        payment_method_types: ['card', 'klarna', 'alipay'],
        metadata: { orderId: orderId },
      };

      return await this.stripe.paymentIntents.create(paymentIntentParams);
    } catch (error) {
      Logger.error(
        '[stripeService] Error creating a payment intent',
        util.inspect(error),
      );
      throw new UnprocessableEntityException(
        'The payment intent could not be created',
      );
    }
  }
}
We will be using the custom payments flow to accept payments within our application. To do so, we need to first create a payment intent object on our backend (shown in the createPaymentIntent method above). This payment intent symbolises the customer’s intention to pay for a product. In order to complete or finalise the payment intent, it will have to be confirmed on the frontend side using the stripe javascript API. We will cover this bit in more depth in a later tutorial.
Before we build the frontend, we shall first integrate and test the above functionality with the orders module, which we’ll create in the next tutorial. You’ll notice that when creating a payment intent on stripe, all dollar amounts must first be converted to cents (hence multiplication by 100), then we should not forget to allow klarna and alipay as payment method types. The metadata field is for our own internal use, as later on we will need it to do order processing once we receive the webhook from stripe.
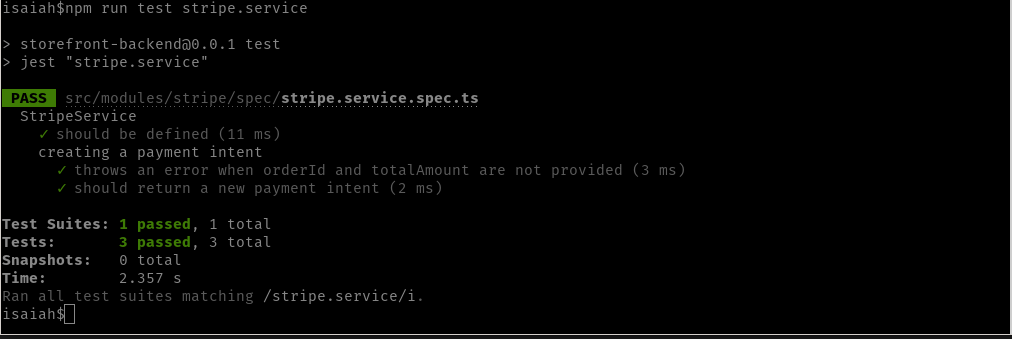
Unit Tests
As is our practice, we shall be including a unit test for our service, and it’ll look like so:
import { UnprocessableEntityException } from '@nestjs/common';
import { ConfigService } from '@nestjs/config';
import { Test, TestingModule } from '@nestjs/testing';
import { Stripe } from 'stripe';
import { StripeService } from '../stripe.service';

describe('StripeService', () => {
  let service: StripeService;

  beforeEach(async () => {
    const mockGetFunction = jest.fn((data: any) => {
      return data;
    });

    const mockConfigService = jest.fn().mockImplementation(() => {
      return {
        get: mockGetFunction,
      };
    });

    const module: TestingModule = await Test.createTestingModule({
      providers: [
        StripeService,
        {
          provide: ConfigService,
          useClass: mockConfigService,
        },
      ],
    }).compile();

    service = module.get<StripeService>(StripeService);
  });

  it('should be defined', () => {
    expect(service).toBeDefined();
  });

  describe('creating a payment intent', () => {
    it('throws an error when orderId and totalAmount are not provided', async () => {
      expect.assertions(2);

      try {
        await service.createPaymentIntent('', 0);
      } catch (error) {
        expect(error).toBeInstanceOf(UnprocessableEntityException);
        expect(error.message).toBe('The payment intent could not be created');
      }
    });

    it('should return a new payment intent', async () => {
      let testPaymentIntent: Promise<Stripe.PaymentIntent>;
      const testOrderId = '21b2090a-d74c-47de-add8-af60d4903123';
      const testTotalAmount = 50;

      jest
        .spyOn(service, 'createPaymentIntent')
        .mockImplementation(() => testPaymentIntent);
      expect(
        await service.createPaymentIntent(testOrderId, testTotalAmount),
      ).toBe(testPaymentIntent);
    });
  });
});
Our tests should turn green when run: